Managing Content
- Updated Cristal Mojica
We know content is at the center of your community - and content management tends to be one of the most laborious parts of running a conference.
Midspace makes it easy to manage content, and empowers organizers to delegate and automate parts of the management process to reallocate time to other critical parts of the event - like supporting and connecting with your community.
The following resource summarizes how organizers can manage complex program content with Midspace.
Common scenarios are identified and advice for how to tackle them is provided!
To learn about linking content to the schedule, see our managing your schedule with Midspace resource, and to learn about assigning people to manage content, view our managing people within Midspace resource.
[Video Coming Shortly]
Follow these simple instructions to add individual content items to your program in Midspace (batch imports are also possible):
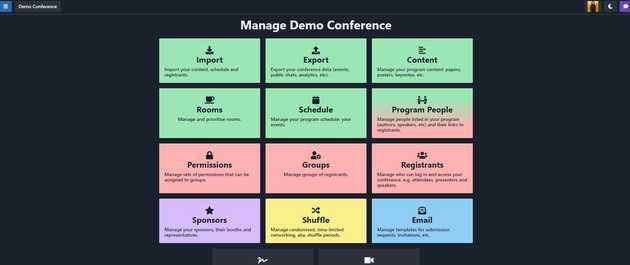
- Navigate to the Content area of the Midspace admin dashboard.
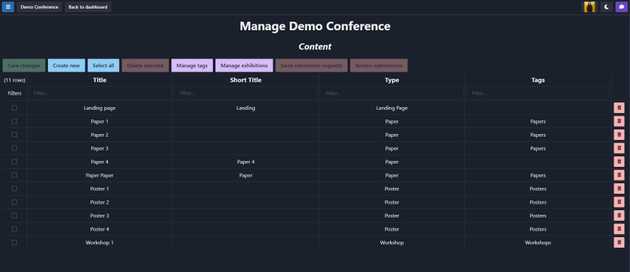
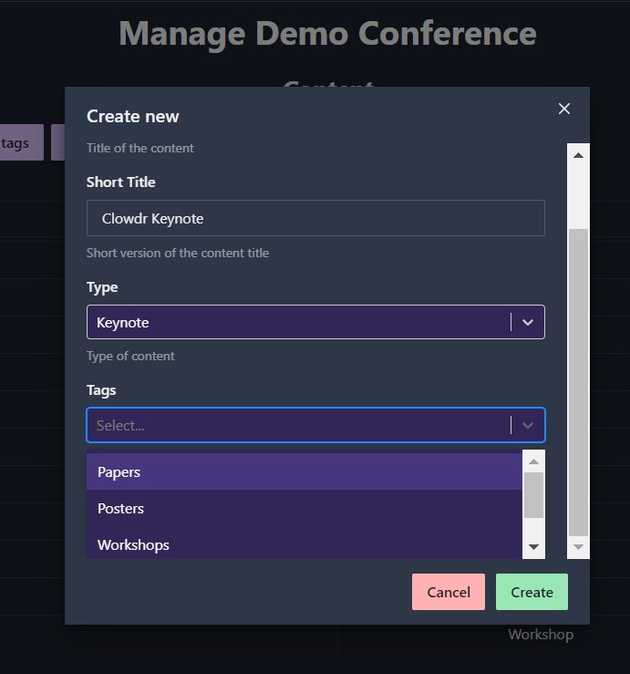
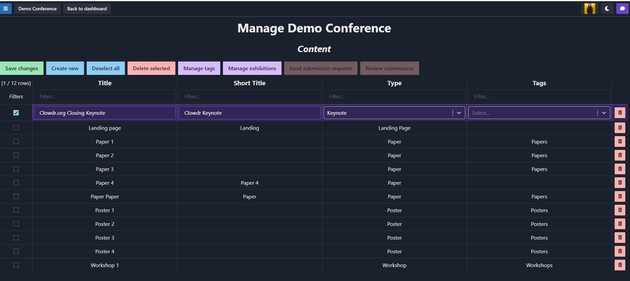
- We can see a few Content items are already listed in the program. From this page, you can add a new Content item to your program using the Create New button.
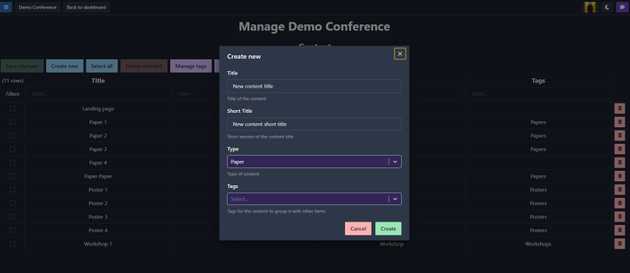
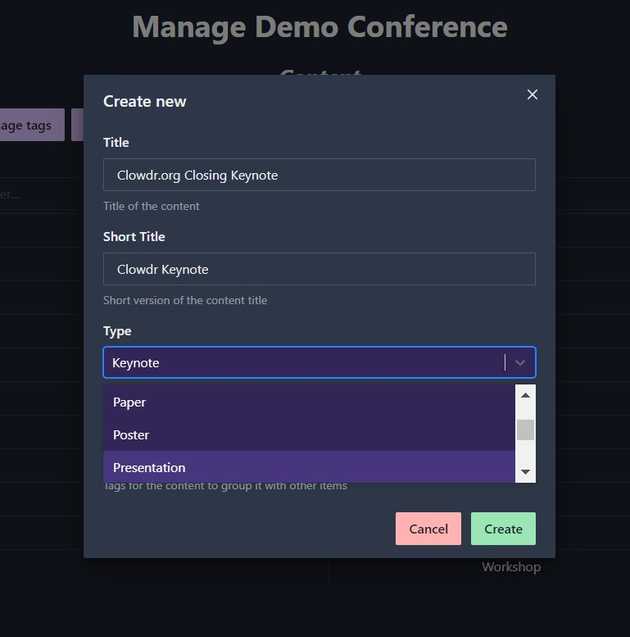
- The Create New dialog will open and present you with options to add a title to your content, determine content type (paper, poster, keynote, etc.), and optionally add tags that will help organize the content on the conference landing page. Tags can be managed from the main content page.
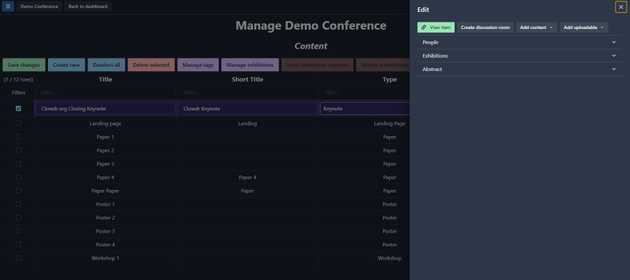
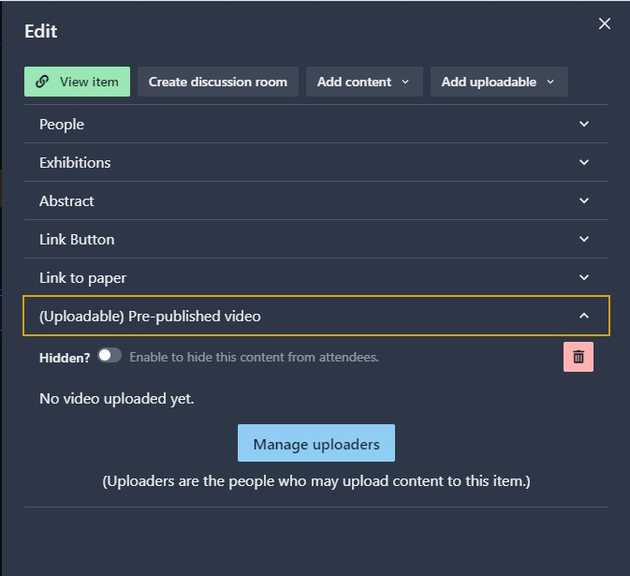
- After you click Create, you will see the Content item appear as a new row on the Content page, and a right sidebar will appear with options for customizing your Content item.
- Options to customize the Content item include:
- Adding a discussion room
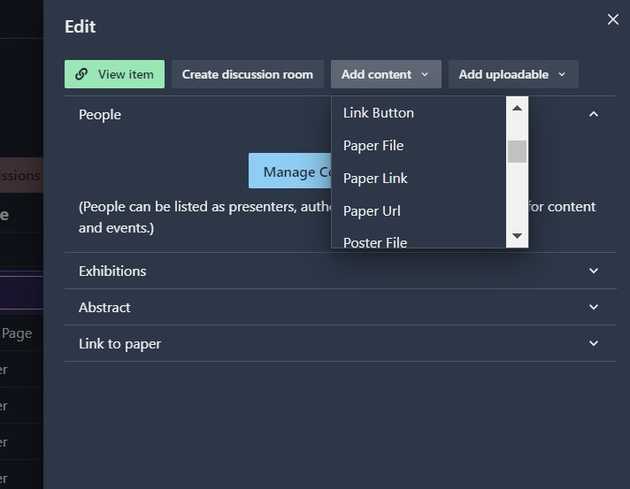
- Adding Content elements (files, videos, links, and more) that can be directly added to the item as an organizer from within Midspace
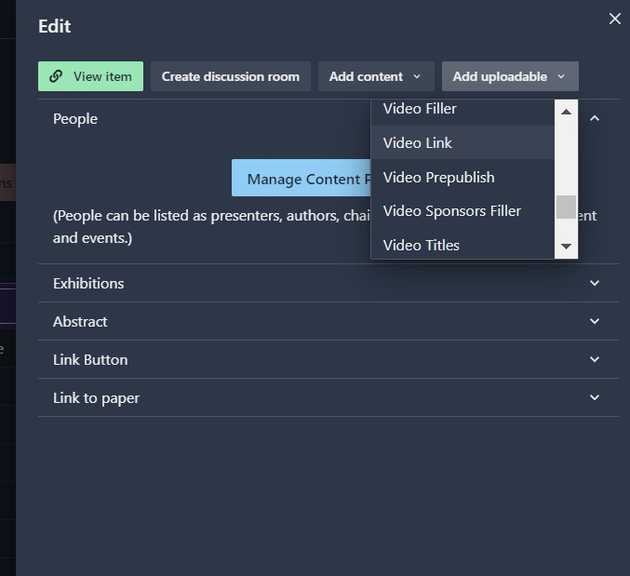
- Adding Uploadable Content (elements that can be delegated externally to authors and other contributors), and
- Managing and adding people
As you make edits, you can also preview your content by clicking through View Item at the top of the sidebar menu.
6. For this exercise, we add a Link Button from the Add Content dropdown, and a Pre-Published Video to as Add Uploadable - meaning the organizer will be able to send a request to an author or other individual to contribute the video.
- Now that we’ve added a few content additions - let’s take a closer look at Uploadable Content. Each Uploadable Content element will have the Manage Uploaders button, through which you will be able to add people as uploaders.

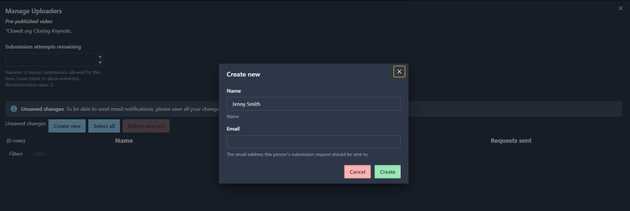
8. In the Manage Uploaders dialog, you will see a Create New option, which allows organizers to enter the name and email of the new uploader.
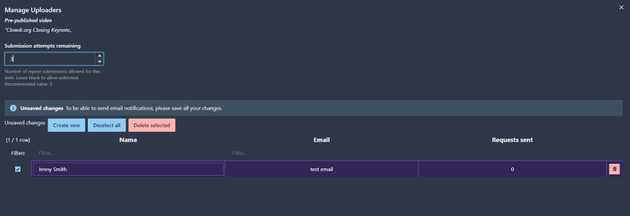
- Once you hit Create, the individual will appear as a row in Manage Uploaders, along with the customizable number of allowable Submission Attempts and information on submission requests that have been sent.
- Requests for Submission: Here we can see that Jenny Smith has received 0 submission requests. Requests for submission are managed from the main content page and can be sent in bulk. Requests go out in the form of an email with a direct link to an upload page, and if the contributor is uploading a video, they will receive automatic email confirmations for when their content has been successfully received, processed, and captioned!
- Back on the main Content page, you can see your new content item, along with options for grouping content via Manage Tags and Manage Exhibitions (used for group formats like student poster sessions and competitions)!
After reviewing this resource, you should know how to:
- Create and manage a Content Item
- Add customizable Content elements to your item
- Manage the people assigned to upload and contribute to the content!
